Curd Not Setting in Winter: Milk Temperature and Timing
Curd often fails to set in winter because cold temperatures slow bacterial activity. Heat milk to about 115°F before adding starter and incubate at 105–112°F, extending time as needed.
Contents
- Why does curd not set properly in winter?
- What is the ideal temperature for milk when setting curd?
- How long should curd be incubated for it to set well, especially in winter?
- What role does incubation environment temperature play in curd setting?
- Can using a yogurt maker help set curd better in winter?
- How does cooling the curd after setting affect its texture?
- Are there traditional Indian methods to ensure curd sets in winter without special appliances?
- What common mistakes cause curd not setting in cold weather?
- Comparison Table: Typical Incubation Conditions and Effects on Curd Setting
- Frequently asked questions
- The bottom line
- Sources & methodology
Curd commonly does not set well in winter because cold ambient temperatures slow down the activity of bacteria responsible for fermentation. To ensure curd sets properly, heat milk to around 115°F (46°C) before adding the starter culture, then incubate the mixture in a warm environment maintained between 105–112°F (40–44°C). During winter, you may need to extend the incubation period beyond the usual eight hours to compensate for slower bacterial growth.
Why does curd not set properly in winter?
Curd fails to set in winter because the bacteria that ferment the milk need warmth to thrive. Lower ambient temperatures significantly slow their metabolic activity, which delays or even stops curd formation. Cold conditions mean the incubation process takes longer, and without consistent warmth, the curd may not set evenly or at all.
According to Cultures for Health, maintaining appropriate temperatures is critical for fermentation to proceed properly.
What is the ideal temperature for milk when setting curd?
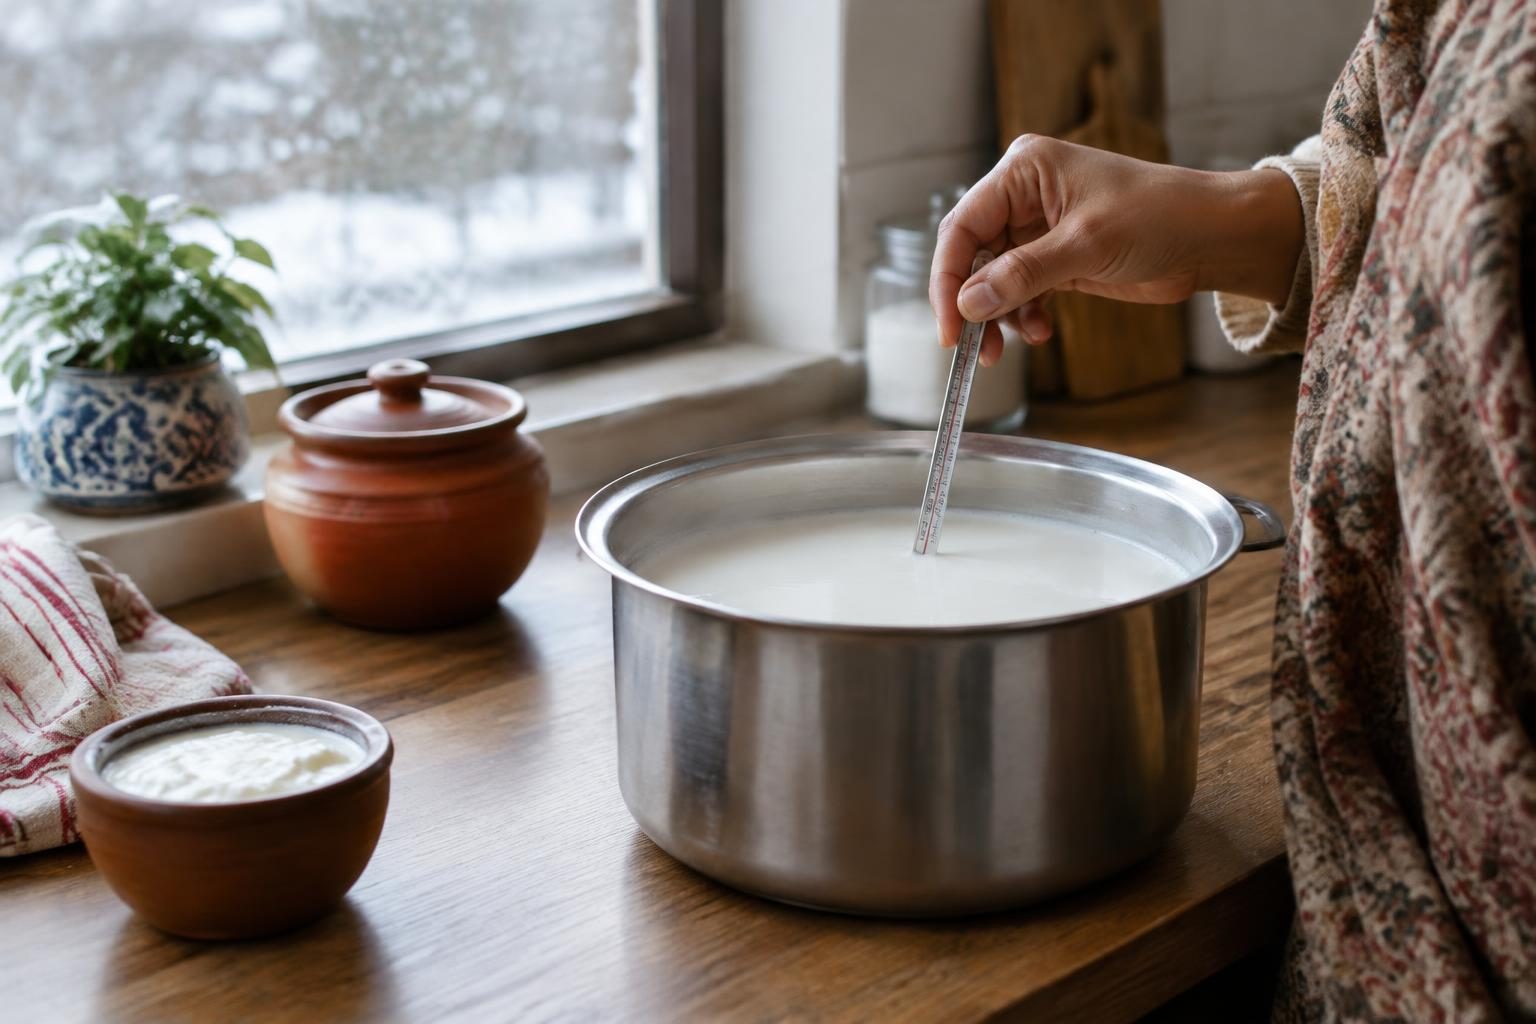
Start by heating fresh milk to about 180°F (82°C). This step kills any harmful bacteria or pathogens and prepares the milk proteins for smooth curd formation. After heating, let the milk cool to about 115°F (46°C) before mixing in the curd starter.
This temperature range is optimal for the beneficial bacteria from the starter to grow effectively and begin fermenting the milk into curd. Adding starter to milk that is too hot kills bacteria; too cold, and bacterial growth slows or stops.
These guidelines follow the instructions from Cultures for Health, ensuring safe and effective curd setting.
How long should curd be incubated for it to set well, especially in winter?
Under ideal conditions, curd sets in about eight hours at incubation temperatures between 105–112°F (40–44°C). However, in colder seasons or when ambient temperatures are low, the fermentation process can take significantly longer.
Extending the incubation time compensates for slower bacterial activity caused by winter chill. You may need to incubate curd for 10 to 12 hours or more depending on how cool your environment is.
Maintaining a warm and stable temperature is more effective than simply increasing time without warmth.
What role does incubation environment temperature play in curd setting?
The incubation temperature directly impacts bacterial growth rates. Keeping the milk-plus-starter mixture at a stable temperature between 105 and 112°F fosters consistent fermentation and reliable curd setting. Cooler environments cause slow or uneven setting because the bacteria’s activity slows or halts.
In winter, simple methods to maintain warmth include placing the container near a warm stove, wrapping it in thick cloth, or using an insulated box or thermos to trap heat.
According to Cultures for Health, stable temperature control is one of the key factors for successful curd making.
Can using a yogurt maker help set curd better in winter?
Yes, yogurt makers or similar appliances maintain a controlled and consistent incubation temperature of around 105–112°F. This creates ideal conditions for the starter bacteria to ferment the milk efficiently, even when ambient winter temperatures are low.
Using a yogurt maker reduces guesswork and speeds up the setting process. While not mandatory, it is a helpful tool for home cooks who regularly face challenges setting curd in cold climates.
Reference: Cultures for Health.
How does cooling the curd after setting affect its texture?
Once the curd has set, leaving it at room temperature for about two hours before refrigeration improves its texture and firmness. Then refrigerate it for at least six hours to complete the fermentation process and allow the curd to become thick and creamy.
Controlled cooling stabilizes the curd’s structure and enhances flavor.
Source: Cultures for Health.
Are there traditional Indian methods to ensure curd sets in winter without special appliances?
Many home cooks in India use simple, effective traditional techniques to maintain warmth for curd setting:
- Place the container near a warm appliance, like a kerosene stove or gas burner, but not directly on heat.
- Wrap the container with thick cloth or blankets to trap heat during incubation.
- Use the oven with the light on (oven turned off) as a warm incubation chamber.
- Use freshly boiled and cooled milk and active curd as the starter to give beneficial bacteria a head start.
- Extend incubation time to 10-12 hours or more, depending on how cool the environment is.
These methods do not require specialized equipment and work around the lower ambient temperatures experienced during Indian winters.
What common mistakes cause curd not setting in cold weather?
Several errors can prevent curd from setting especially in winter:
- Adding starter to milk that is either too hot (above 115°F) or too cold (below 95°F) kills or inhibits bacteria.
- Not maintaining a sufficiently warm and stable incubation environment.
- Using old, weak, or inactive starter culture that has lost viability.
- Stopping incubation too early before curd has had enough time to ferment slowly due to cold conditions.
- Using stale or poor-quality milk that affects fermentation.
Avoiding these common pitfalls improves the chances of consistent curd setting in winter.
Comparison Table: Typical Incubation Conditions and Effects on Curd Setting
| Condition | Temperature | Incubation Time | Effect on Curd Setting |
|---|---|---|---|
| Ideal | 105–112°F (40–44°C) | ~8 hours | Consistent, firm curd |
| Cool winter home (without heater) | Below 90°F (32°C) | 10–12+ hours | Slow, possibly patchy or failed setting |
| Milk too hot or too cold when starter added | Above 115°F or Below 95°F (46°C or 35°C) | - | Starter bacteria killed or inhibited; no setting |
| Using yogurt maker | Controlled 105–112°F | ~8 hours | Reliable, fast, uniform setting |
Frequently asked questions
Why does curd not set properly in winter?
Cold ambient temperatures slow bacterial activity needed for curd fermentation. This delays or prevents the milk from turning into curd unless incubation temperature is maintained or time extended.
What is the ideal temperature for milk when setting curd?
Milk should be first heated to 180°F to kill pathogens and then cooled to about 115°F before adding starter culture. This range supports bacterial growth and proper fermentation.
How long should curd be incubated in winter for proper setting?
While eight hours is typical, winter conditions may require 10 to 12 hours or longer. The incubation temperature and starter activity influence exact times.
Can using a yogurt maker improve curd setting in cold weather?
Yes, yogurt makers keep a consistent warm incubation temperature (105–112°F), enabling steady bacterial fermentation even during colder months.
What are common mistakes that lead to curd not setting in winter?
Common errors include adding starter at inappropriate milk temperatures, weak starter culture, insufficient incubation warmth, and removing curd too early before full setting.
The bottom line
Curd often fails to set in winter due to slow bacterial fermentation caused by cold temperatures. Heating milk to about 115°F before adding starter and maintaining incubation temperatures between 105–112°F, with extended timing as needed, ensures a proper set. Simple traditional warming methods or yogurt makers can help home cooks achieve reliable results.
For related insights, see our guides on Idli batter not fermenting in winter: tested fixes and Dosa sticking to an iron tawa: seasoning and temperature tips.
Sources & methodology
We reviewed the primary references below when checking the time-sensitive facts in this guide. Product features, prices, rules and eligibility can change, so confirm important details with the linked authority before acting.
- Traditional Yogurt Instructions — Cultures for Health culturesforhealth.comCultures for Health instructions apply specifically to its Traditional Yogurt starter, not to every homemade dahi culture. The supplier specifies pasteurized whole milk and a thermometer. For this product, it heats milk to 180°F, cools it to 115°F before adding starter, then cultures at 105–112°F for about eight hours. It states that cooler incubation takes longer to set. A yogurt maker or an appliance capable of holding the specified temperature can provide a controlled environment. Once set, its instructions call for cooling for two hours and refrigeration for at least six hours. A thin activation batch can differ from later batches. These are the supplier’s published instructions, not Picksyra testing. Other starters need their own supplier instructions; these numbers must not be presented as universal rules for all Indian curd.